No edit summary Tag: Visual edit |
Tag: Visual edit |
||
| (46 intermediate revisions by 20 users not shown) | |||
| Line 1: | Line 1: | ||
| − | '''Vehicles''' are used to |
+ | '''Vehicles''' are used to ship [[eggs]]. There are twelve tiers of vehicles. |
You can look in your vehicle tab by tapping the [[Shipping Depot]]. The depot changes appearance as capacity increases. In the upper right corner, there is a bar showing the current eggs/min vs the maximum the depot can handle. The color of the bar changes from green to yellow to red as the eggs/min approaches maximum shipping capacity. |
You can look in your vehicle tab by tapping the [[Shipping Depot]]. The depot changes appearance as capacity increases. In the upper right corner, there is a bar showing the current eggs/min vs the maximum the depot can handle. The color of the bar changes from green to yellow to red as the eggs/min approaches maximum shipping capacity. |
||
| + | |||
| + | If you are near the cap, a warning saying "Your shipping depot can barely ship all the eggs you're selling!" will appear every so often. |
||
| + | |||
| + | If you are over the cap, a warning saying "Your farm is making more eggs than the shipping depot can handle!" will appear every so often. |
||
Certain types of [[research]] will increase the carrying capacity of vehicles or decrease the price. The base price of buying or upgrading a vehicle depends on how many of that level of vehicle you have immediately before your purchase, not on how many vehicles you have of any other level. |
Certain types of [[research]] will increase the carrying capacity of vehicles or decrease the price. The base price of buying or upgrading a vehicle depends on how many of that level of vehicle you have immediately before your purchase, not on how many vehicles you have of any other level. |
||
| − | + | Each vehicle you purchase will add {{Golden Egg}}20 to your [[Piggy Bank]] ''(if your Piggy Bank is not yet at the cap)''. |
|
| − | Farms start out with a trike and four vehicle slots, |
+ | Farms start out with a trike and four vehicle slots. However, research will allow you to have up to 17 vehicles using fleet size. |
== Vehicles == |
== Vehicles == |
||
<!--1: 2: 3: 4: 5: 6: 7: 8: 9: 10: 11: 12: 13: 14: 15: 16: 17: --> |
<!--1: 2: 3: 4: 5: 6: 7: 8: 9: 10: 11: 12: 13: 14: 15: 16: 17: --> |
||
| − | '''Note: As of 1.11, prices are accurate to ±.001 the Order of Magnitude.''' |
+ | '''Note: As of [[Version History|Version 1.12.11]], prices are accurate to ±.001 the Order of Magnitude.''' |
| + | |||
| + | '''Note: Base prices assume no investment into the Bust Unions [[Epic Research]], and that there is no active event lowering vehicle costs. Additionally, base prices are accurate as of Version 1.22.4.''' |
||
{| class="article-table" |
{| class="article-table" |
||
!Photo |
!Photo |
||
!Name |
!Name |
||
!Base Capacity (eggs/min) |
!Base Capacity (eggs/min) |
||
| + | !Base Price |
||
| − | !Price Range |
||
|- |
|- |
||
|[[File:Trike.png|thumb|200px]] |
|[[File:Trike.png|thumb|200px]] |
||
|'''Trike''' |
|'''Trike''' |
||
|5,000 |
|5,000 |
||
| − | |{{Bocks}}<abbr title="1: |
+ | |{{Bocks}}<abbr title="1: 9.96 2: 22.42 3: 40.34 4: 65.52 5: 100.4 6: 147.72 7: 210 8: 292 9: 400 10: 536 11: 710 12: 928 13: 1,198 14: 1,534 15: 1,940 16: 2,438 17: 3,032">Free</abbr><ref>#1 is the cost of the first Trike, which by default is already purchased (i.e. free). However, upgrading it and then opening the vehicle hire menu will display this value. This also means that #17's price cannot be attained without first having 16 Trikes.</ref> |
|- |
|- |
||
|[[File:Transit van.png|thumb|200px]] |
|[[File:Transit van.png|thumb|200px]] |
||
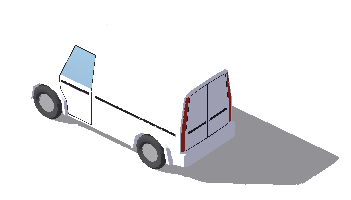
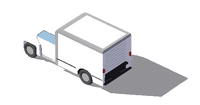
|'''Transit Van''' |
|'''Transit Van''' |
||
|15,000 |
|15,000 |
||
| − | |{{Bocks}}<abbr title="1: |
+ | |{{Bocks}}<abbr title="1: 544 2: 1,062 3: 1,930 4: 3,318 5: 5,454 6: 8,636 7: 13,250 8: 19,804 9: 28,898 10: 41,228 11: 57,762 12: 79,642 13: 107,930 14: 144,568 15: 190,824 16: 249,352 17: 321,946 ">544</abbr> |
|- |
|- |
||
|[[File:Pickup.png|thumb|200px]] |
|[[File:Pickup.png|thumb|200px]] |
||
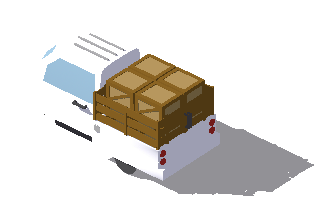
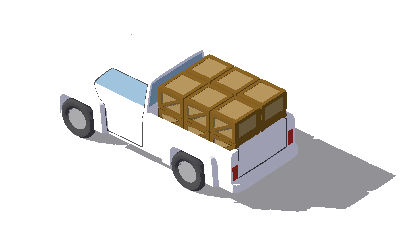
|'''Pickup''' |
|'''Pickup''' |
||
|50,000 |
|50,000 |
||
| − | |{{Bocks}}<abbr title="1: |
+ | |{{Bocks}}<abbr title="1: 52,868 2: 232,658 3: 774,342 4: 2,128,814 5: 5,093,250 6: 10,989,246 7: 21,784,706 8: 40,450,214 9: 71,125,594 10: 119.424M 11: 192.810M 12: 300.964M 13: 456.288M 14: 674.834M 15: 975.766M 16: 1.381B 17: 1.920B ">52,868</abbr> |
|- |
|- |
||
|[[File:10 foot.png|thumb|200px]] |
|[[File:10 foot.png|thumb|200px]] |
||
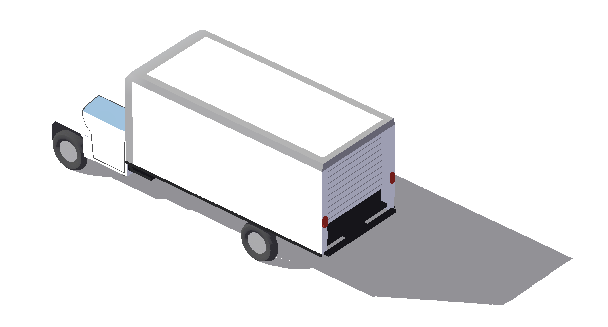
|'''10 Foot''' |
|'''10 Foot''' |
||
|100,000 |
|100,000 |
||
| − | |{{Bocks}}<abbr title="1: |
+ | |{{Bocks}}<abbr title="1: 14,962,366 2: 28,568,794 3: 51,358,832 4: 87,923,630 5: 144.365M 6: 228.722M 7: 351.478M 8: 525.572M 9: 766.75M 10: 1.094B 11: 1.535B 12: 2.118B 13: 2.87B 14: 3.846B 15: 5.078B 16: 6.634B 17: 8.566B ">14,962,366</abbr> |
|- |
|- |
||
|[[File:24 foot.png|thumb|200px]] |
|[[File:24 foot.png|thumb|200px]] |
||
|'''24 Foot''' |
|'''24 Foot''' |
||
|250,000 |
|250,000 |
||
| − | |{{Bocks}}<abbr title="1: |
+ | |{{Bocks}}<abbr title="1: 4.358B 2: 39.578B 3: 202.666B 4: 741.13B 5: 2.174T 6: 5.448T 7: 12.136T 8: 24.744T 9: 46.854T 10: 83.684T 11: 142.388T 12: 232.424T 13: 366.152T 14: 559.462T 15: 832.804T 16: 1.210q 17: 1.721q ">4.358B</abbr> |
|- |
|- |
||
|[[File:Semi.png|thumb|200px]] |
|[[File:Semi.png|thumb|200px]] |
||
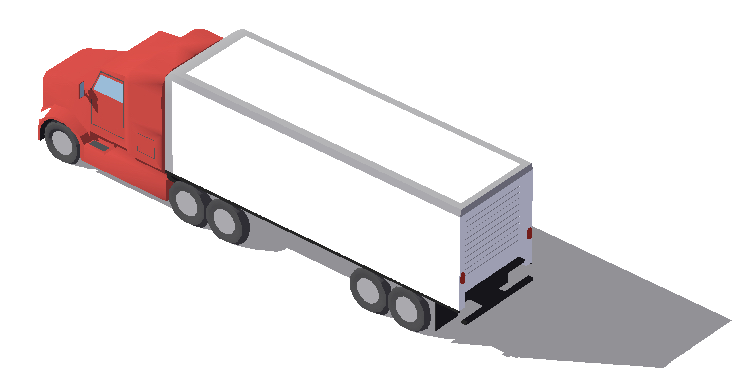
|'''Semi''' |
|'''Semi''' |
||
|500,000 |
|500,000 |
||
| − | |{{Bocks}}<abbr title="1: |
+ | |{{Bocks}}<abbr title="1: 58.164T 2: 499.268T 3: 2.47q 4: 8.838q 5: 25.458q 6: 63.012q 7: 139.022q 8: 280.624q 9: 527.726q 10: 937.324q 11: 1.586Q 12: 2.576Q 13: 4.042Q 14: 6.148Q 15: 9.112Q 16: 13.2Q 17: 18.738Q ">58.164T</abbr> |
|- |
|- |
||
|[[File:Double semi.png|thumb|200px]] |
|[[File:Double semi.png|thumb|200px]] |
||
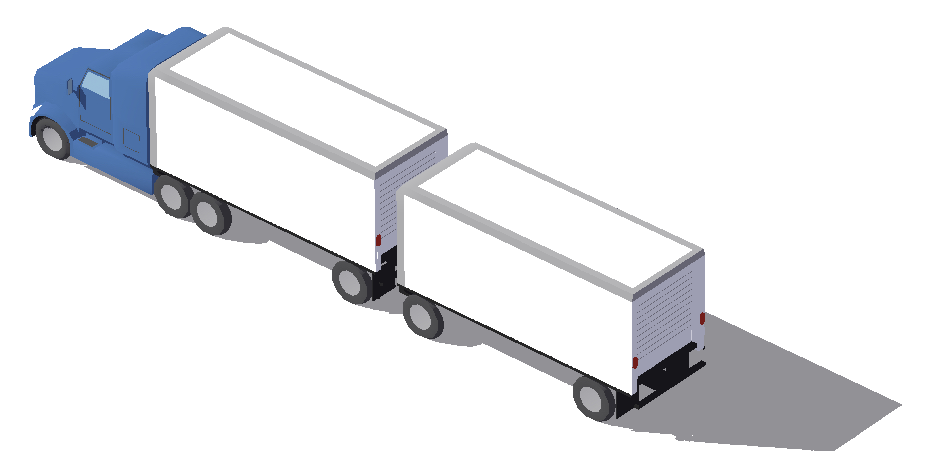
|'''Double Semi''' |
|'''Double Semi''' |
||
|1,000,000 |
|1,000,000 |
||
| − | |{{Bocks}}<abbr title="1: |
+ | |{{Bocks}}<abbr title="1: 593.97q 2: 4.788Q 3: 22.826Q 4: 79.718Q 5: 225.76Q 6: 551.162Q 7: 1.202s 8: 2.408s 9: 4.494s 10: 7.93s 11: 13.348s 12: 21.582s 13: 33.712s 14: 51.112s 15: 75.542s 16: 109.15s 17: 154.364s ">593.97q</abbr> |
|- |
|- |
||
|[[File:Future semi.png|thumb|200px]] |
|[[File:Future semi.png|thumb|200px]] |
||
|'''Future Semi''' |
|'''Future Semi''' |
||
|5,000,000 |
|5,000,000 |
||
| − | |{{Bocks}}<abbr title="1: |
+ | |{{Bocks}}<abbr title="1: 5.084s 2: 40.28s 3: 190.034s 4: 657.866s 5: 1.852S 6: 4.5S 7: 9.78S 8: 19.53S 9: 36.308S 10: 63.542S 11: 106.014S 12: 169.918S 13: 263.224S 14: 396.114S 15: 581.06S 16: 832.792S 17: 1.169o ">5.084s</abbr> |
|- |
|- |
||
|[[File:Mega semi.png|thumb|200px]] |
|[[File:Mega semi.png|thumb|200px]] |
||
|'''Mega Semi''' |
|'''Mega Semi''' |
||
|15,000,000 |
|15,000,000 |
||
| − | |{{Bocks}}<abbr title="1: |
+ | |{{Bocks}}<abbr title="1: 33.474S 2: 234.248S 3: 1.018o 4: 3.332o 5: 8.99o 6: 21.112o 7: 44.666o 8: 87.126o 9: 159.188o 10: 275.412o 11: 455.5o 12: 725.348o 13: 1.118N 14: 1.674N 15: 2.446N 16: 3.494N 17: 4.894N ">33.474S</abbr> |
|- |
|- |
||
|[[File:Hover semi.png|thumb|200px]] |
|[[File:Hover semi.png|thumb|200px]] |
||
|'''Hover Semi''' |
|'''Hover Semi''' |
||
|30,000,000 |
|30,000,000 |
||
| − | |{{Bocks}}<abbr title="1: |
+ | |{{Bocks}}<abbr title="1: 1.616N 2: 25.842N 3: 173.19N 4: 738.432N 5: 2.382d 6: 6.368d 7: 14.812d 8: 30.994d 9: 59.546d 10: 107.064d 11: 182.188d 12: 296.028d 13: 462.59d 14: 699.102d 15: 1.026U 16: 1.469U 17: 2.058U ">1.616N</abbr> |
|- |
|- |
||
|[[File:Quantum transporter.png|thumb|200px]] |
|[[File:Quantum transporter.png|thumb|200px]] |
||
|'''Quantum Transporter''' |
|'''Quantum Transporter''' |
||
|50,000,000 |
|50,000,000 |
||
| − | |{{Bocks}}<abbr title="1: |
+ | |{{Bocks}}<abbr title="1: 5.576d 2: 11.746d 3: 22.73d 4: 41.126d 5: 70.412d 6: 115.064d 7: 180.756d 8: 274.518d 9: 404.9d 10: 582.296d 11: 819.384d 12: 1.129U 13: 1.528U 14: 2.038U 15: 2.678U 16: 3.47U 17: 4.446U ">5.576d</abbr> |
|- |
|- |
||
|[[File:Hyperloop.png|thumb|200px]] |
|[[File:Hyperloop.png|thumb|200px]] |
||
|'''Hyperloop Train''' |
|'''Hyperloop Train''' |
||
|50,000,000 |
|50,000,000 |
||
| − | |{{Bocks}}<abbr title="1: |
+ | |{{Bocks}}<abbr title="1: 21.124U 2: 306.01U 3: 1.719D 4: 6.468D 5: 19.442D 6: 49.128D 7: 109.128D 8: 219.662D 9: 409.964D 10: 718.744D 11: 1.197Td 12: 1.913Td 13: 2.952Td 14: 4.412Td 15: 6.426Td 16: 9.142Td 17: 12.738Td ">21.124U</abbr> |
|} |
|} |
||
| − | == Hyperloop Train == |
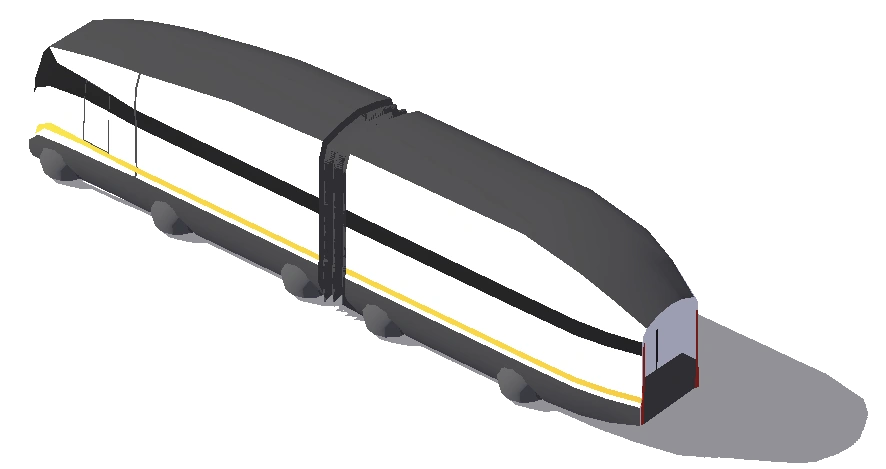
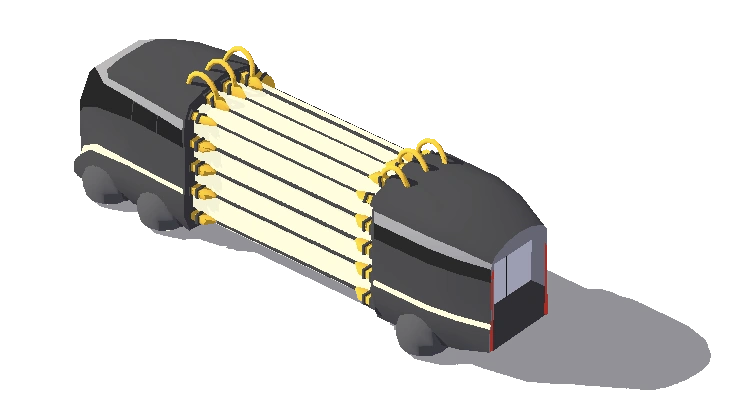
+ | == Hyperloop Train and Hyperloop Train Car == |
| − | [[File:Hyperloop engine.png]] [[File:Hyperloop car.png]] |
+ | [[File:Hyperloop engine.png]] [[File:Hyperloop car.png]][[File:Hyperloop car.png]][[File:Hyperloop car.png]][[File:Hyperloop car.png]][[File:Hyperloop car.png]] |
| + | |||
| ⚫ | The Hyperloop Train is a unique vehicle. It is composed of the Hyperloop Engine and Hyperloop Cars. When it is purchased, 4 more cars that cost {{Bocks}}<abbr title="1: Free 2: 1.959U 3: 15.202U 4: 66.134U 5: 206.794U 6: 522.482U 7: 1.138D 8: 2.228D 9: 4.11D 10: 7.21D">1.959U - 7.21D</abbr> with identical shipping capacity can be purchased and attached to the back of the train. This can be upgraded to 9 extra cars with Graviton Coupling, effectively multiplying the total shipping capacity by 10. The Hyperloop Train resides in the [[Hyperloop]] station, although it cannot be seen in-game. |
||
| + | |||
| + | Without [[Artifact]] effects, the maximum possible shipping rate is 7.008T/minute per Hyperloop Train, or 119.134T/minute with 17 fully upgraded, ten-car trains. |
||
| + | |||
| + | You should purchase the Hyperloop if you are consistently maxing out your Shipping rate in contracts and/or on your home farm. The 50k {{Golden Egg}} cost is a one time purchase, and it does '''not''' reset when you prestige. Once you buy the station, you'll keep it forever. |
||
| ⚫ | The Hyperloop Train is a unique vehicle. It is composed of the Hyperloop Engine and Hyperloop Cars. When it is purchased, 4 more cars that cost {{Bocks}}<abbr title="1: |
||
== Trivia == |
== Trivia == |
||
| − | * Tapping on a vehicle makes it honk |
+ | * Tapping on a vehicle makes it honk; different vehicles make different honks. |
| − | ** The exception to this is the Hyperloop Train, which doesn't honk because it exists inside the [[Hyperloop]]. |
+ | ** The exception to this is the Hyperloop Train, which doesn't honk because it exists inside the [[Hyperloop]] station. |
* The Transit Van delivers boxes, while the Pickup delivers newspapers, even if your fleet doesn't have either. |
* The Transit Van delivers boxes, while the Pickup delivers newspapers, even if your fleet doesn't have either. |
||
* Trikes and Pickups are the only vehicles to have boxes appear in the car after stopping at the Shipping Depot. |
* Trikes and Pickups are the only vehicles to have boxes appear in the car after stopping at the Shipping Depot. |
||
| − | * |
+ | * When upgrading a vehicle from Double Semi to Future Semi or from Hover Semi to Quantum Transporter, the size of the vehicle shrinks despite egg capacity increasing. |
* The yellow lines of the Quantum Transporter also appear on the level 7 [[Shipping Depot]]. |
* The yellow lines of the Quantum Transporter also appear on the level 7 [[Shipping Depot]]. |
||
* The Hover Semi, Quantum Transporter, and Hyperloop Train all count as hover vehicles for the purpose of the "Hover Upgrades" [[research]] in Tier 9. |
* The Hover Semi, Quantum Transporter, and Hyperloop Train all count as hover vehicles for the purpose of the "Hover Upgrades" [[research]] in Tier 9. |
||
| + | |||
| + | ==Notes== |
||
| + | <references/> |
||
| + | |||
[[Category:Mechanics]] |
[[Category:Mechanics]] |
||
Latest revision as of 07:04, 24 January 2024
Vehicles are used to ship eggs. There are twelve tiers of vehicles.
You can look in your vehicle tab by tapping the Shipping Depot. The depot changes appearance as capacity increases. In the upper right corner, there is a bar showing the current eggs/min vs the maximum the depot can handle. The color of the bar changes from green to yellow to red as the eggs/min approaches maximum shipping capacity.
If you are near the cap, a warning saying "Your shipping depot can barely ship all the eggs you're selling!" will appear every so often.
If you are over the cap, a warning saying "Your farm is making more eggs than the shipping depot can handle!" will appear every so often.
Certain types of research will increase the carrying capacity of vehicles or decrease the price. The base price of buying or upgrading a vehicle depends on how many of that level of vehicle you have immediately before your purchase, not on how many vehicles you have of any other level.
Each vehicle you purchase will add ![]() 20 to your Piggy Bank (if your Piggy Bank is not yet at the cap).
20 to your Piggy Bank (if your Piggy Bank is not yet at the cap).
Farms start out with a trike and four vehicle slots. However, research will allow you to have up to 17 vehicles using fleet size.
Vehicles
Note: As of Version 1.12.11, prices are accurate to ±.001 the Order of Magnitude.
Note: Base prices assume no investment into the Bust Unions Epic Research, and that there is no active event lowering vehicle costs. Additionally, base prices are accurate as of Version 1.22.4.
| Photo | Name | Base Capacity (eggs/min) | Base Price |
|---|---|---|---|
 |
Trike | 5,000 | |
  |
Transit Van | 15,000 | |
  |
Pickup | 50,000 | |
  |
10 Foot | 100,000 | |
  |
24 Foot | 250,000 | |
  |
Semi | 500,000 | |
 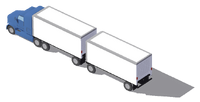 |
Double Semi | 1,000,000 | |
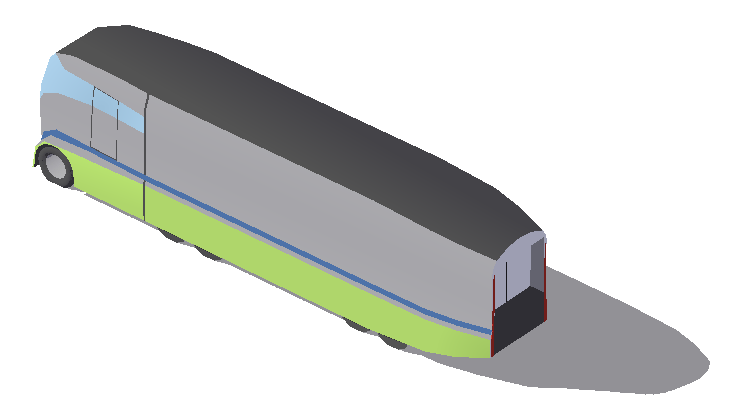 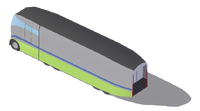 |
Future Semi | 5,000,000 | |
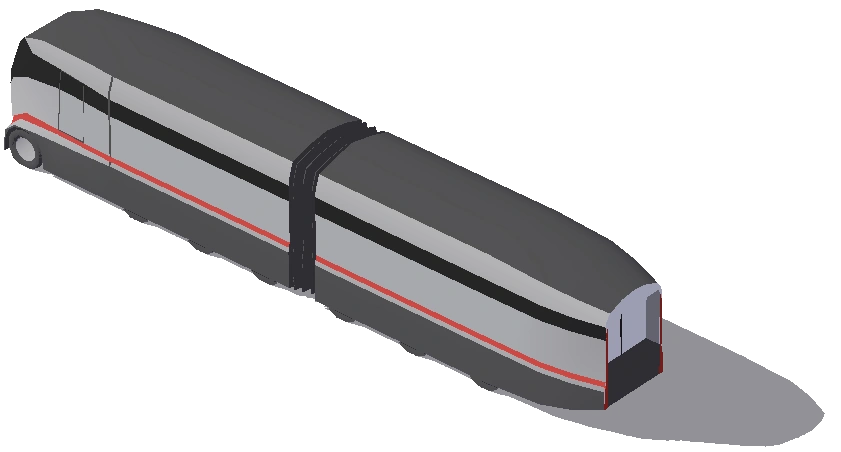  |
Mega Semi | 15,000,000 | |
  |
Hover Semi | 30,000,000 | |
  |
Quantum Transporter | 50,000,000 | |
  |
Hyperloop Train | 50,000,000 |
Hyperloop Train and Hyperloop Train Car


The Hyperloop Train is a unique vehicle. It is composed of the Hyperloop Engine and Hyperloop Cars. When it is purchased, 4 more cars that cost ![]() 1.959U - 7.21D with identical shipping capacity can be purchased and attached to the back of the train. This can be upgraded to 9 extra cars with Graviton Coupling, effectively multiplying the total shipping capacity by 10. The Hyperloop Train resides in the Hyperloop station, although it cannot be seen in-game.
1.959U - 7.21D with identical shipping capacity can be purchased and attached to the back of the train. This can be upgraded to 9 extra cars with Graviton Coupling, effectively multiplying the total shipping capacity by 10. The Hyperloop Train resides in the Hyperloop station, although it cannot be seen in-game.
Without Artifact effects, the maximum possible shipping rate is 7.008T/minute per Hyperloop Train, or 119.134T/minute with 17 fully upgraded, ten-car trains.
You should purchase the Hyperloop if you are consistently maxing out your Shipping rate in contracts and/or on your home farm. The 50k ![]() cost is a one time purchase, and it does not reset when you prestige. Once you buy the station, you'll keep it forever.
cost is a one time purchase, and it does not reset when you prestige. Once you buy the station, you'll keep it forever.
Trivia
- Tapping on a vehicle makes it honk; different vehicles make different honks.
- The exception to this is the Hyperloop Train, which doesn't honk because it exists inside the Hyperloop station.
- The Transit Van delivers boxes, while the Pickup delivers newspapers, even if your fleet doesn't have either.
- Trikes and Pickups are the only vehicles to have boxes appear in the car after stopping at the Shipping Depot.
- When upgrading a vehicle from Double Semi to Future Semi or from Hover Semi to Quantum Transporter, the size of the vehicle shrinks despite egg capacity increasing.
- The yellow lines of the Quantum Transporter also appear on the level 7 Shipping Depot.
- The Hover Semi, Quantum Transporter, and Hyperloop Train all count as hover vehicles for the purpose of the "Hover Upgrades" research in Tier 9.
Notes
- ↑ #1 is the cost of the first Trike, which by default is already purchased (i.e. free). However, upgrading it and then opening the vehicle hire menu will display this value. This also means that #17's price cannot be attained without first having 16 Trikes.